Friday, June 29, 2018

artistic freedom and fun!

Cambyr inspired me to pull an all-nighter with her working on my newest vision....

(She by the way...inspired by my work, decided to build her own custom furniture for her clothes...I LOVE mutual inspiration...and I love being this kind of example to my kids!)
Cambyr moving from cardboard to wood for the first time!

When I was at Home Depot buying the trim for the rest of the house I talked to a guy about my latest idea and he pointed me to the proper material for the job! Better still, it was slightly damaged so he gave me an expensive 1/2 sheet of PVC for half off! Yeah, now the project was much more affordable!

I started with a clean fresh sheet and some long sheets of paper that were just gifted to me serendipitously!

clean sheet of PVC

yes, amazing what comes from
listening to your heart!


I actually had so much fun drawing and cutting out the designs then fitting them as tightly as I could to maximize my use of the PVC sheet.
my homemade stencils
laying them out to fit


so fun deciding what to do next....

I outlined them and cut them with a jig-saw and then tested out the three spray paint cans I bought to see what kind of technique I would use.

But then, I was exhausted and Cambyr was too. Time to get some sleep and get back to it as soon as I woke up! Yeah, finally excited about doing more work on the little place! Being able to balance the MUST DO stuff with the WANT TO DO stuff really helps to take it all in stride and truly ENJOY the journey!

--------------------------------------------------------
Got some sleep and cut everything out and laid them out on the grass out back to decide on a final layout...
This was the winner!

Then I trimmed out the rest of the place....and with the left-over pieces even trimmed out the loft, which I hadn't planned on doing! BONUS!

It's really starting to come together now!


Tuesday, June 19, 2018

squeaky wheel...gets the shit cleaned out!

Looks like the marina finally honored my latest request (things are dying down for them work wise now since most of the boats are in the water at this point....I was just last on the list).

GULP....guess now there is no more excuse....time to roll up the sleeves again and get seriously going! At least after a well-deserved break to Southern California! See you in a few days, well rested and re-energized!

Monday, June 18, 2018

flotation frustration

I really want to get my barrels installed and get this thing ready to FLOAT!

And although my energy is waning, I am sluggishly and slowly still pushing forward...

My frustration is mounting, however, because the marina seems to be ignoring my requests to move the shit they are storing underneath my little home!
shit that needs to move

trying to figure out how to work around the obstacles

getting some child support readying the bottom!

cutting to size to sure up the sides for added lengthwise strength

where the cut pieces will go.

My biggest challenge for the rest of this project will be how to move the supports to other locations while I'm working without losing their support. I need to keep them around so I'll get creative and figure out where they belong. It's complicated....but necessary, and worth it!

Tuesday, June 12, 2018

room to breathe

with the roof officially waterproofed I can now feel secure in stretching out in the loft with no worries!

What a beautiful feeling!


Evidently, I am not entirely done with the roof. I thought I had left overs that I might be able to return for it felt I had WAAAAYYYYY too much paint...however, Ian informed me that I need to use ALL the paint sent to me....I still have 2 FULL 5 gallon buckets left! One grey and one white! HOLY SHIT!!!


At this rate it will take me another few weeks to get this done....considering I'll be out of town the next couple of weekends (to find that work-life balance...even work balance on this project needs some downtime so my cramping hands can recover!) looks like I won't be done with it until early July!

TAKE A DEEP BREATH AND CARRY ON!

That's all I can do....must maintain my vision, can't stop now. 

Monday, June 11, 2018

Water-Roofing

Although water-proofing the roof is completely NECESSARY and VALID and the method I have chosen is really the BEST in my situation....Boy is it taking FOREVER!

I am finally on the white coats and hoping to be done with it soon. The days have finally dried out and I'm trying to take full advantage....I want her in the water floating...SOON! But, sometimes....the tasks feel too many.....


Sunday, June 10, 2018

stove ready to go

I mostly just tidied up today....after I slept in to 7am....


The stove is now officially able to work...only it's been so hot lately the thought of starting it up to test it out isn't very appealing.

I put the fireproof roxul insulation around the stove pipe and repositioned my fabric and am both excited and nervous for that first day I get to test it out!


Saturday, June 9, 2018

water-(p)roofing day 2...


icing on the cake!
First thing this morning I nailed in the remaining rows of unnailed boards on the main roof and did a special cleaning project I might mention later...

Then, after watching my son play his last flag football game of the season, I came back to roofs that were gently warmed up by the sun. I quickly and effortlessly applied the first of 2+ white top coats to the loft roof, then started sealing all the joints and edges of the main roof with the caulk. I was meticulous this time around and took extra care to not overlook anything that could be a potential for a leak.

I pushed through the day to a playlist from my awesome friend Lola in California that she made for a group of us called "Earth Shakes".

seams patched and edges caulked 

First time using a circular saw.

muther fucker this thing was kicking my ass!
 Her (as well as my other awesome gal-pals) support and presence during this project has really fueled me to push onward doing the best I can at every decision point. I'm so grateful for the friends who have been interested and inquisitive about my project and my life. There is so much value in having people share these experiences with you and help you to decipher the lessons learned.

I mean, we are all in this life together, and it is so great to find people who we truly value and have stuff in common with, even if we are not entirely the same in the way we react to things....the reciprocity means tons.

One of my most daunting tasks of this whole project was cutting the hole for the stove pipe. I had never used a circular saw and was warned the thing could kick back and "break your wrist" if you weren't careful! Geez, that's all I needed to knock my confidence down...especially knowing I had already overworked my carpal tunnel swollen hands!

I took my first few attempts timidly bracing myself for anything and trying hard to react slowly as to not be stupid. But the second the saw hit the wood it would kick back hard! DAMN...I wasn't sure how I was going to get this one done by myself.

Almost ready to call for help...I got smart and switched over to a corded drill and just got fucking BRAVE. I held my ground and dug in and after about 10 attempts ...

I fucking "broke on through to the other side!"
(thank you Jim Morrison!)

I conquered yet another fear....damn you fears!

Managing that obstacle with farm-girl grace, I happily put the stove pipe together, sealed it down with high heat silicon then screwed it into place....don't worry, I was actually smart enough to level it on all sides and stuff the edges to secure it into place making sure it was straight.

come to find out it couldn't be done with cordless drill!!!

Take that ---HOLE!

A ghost in the house

wow...I did it! Installed the stove pipe by myself!


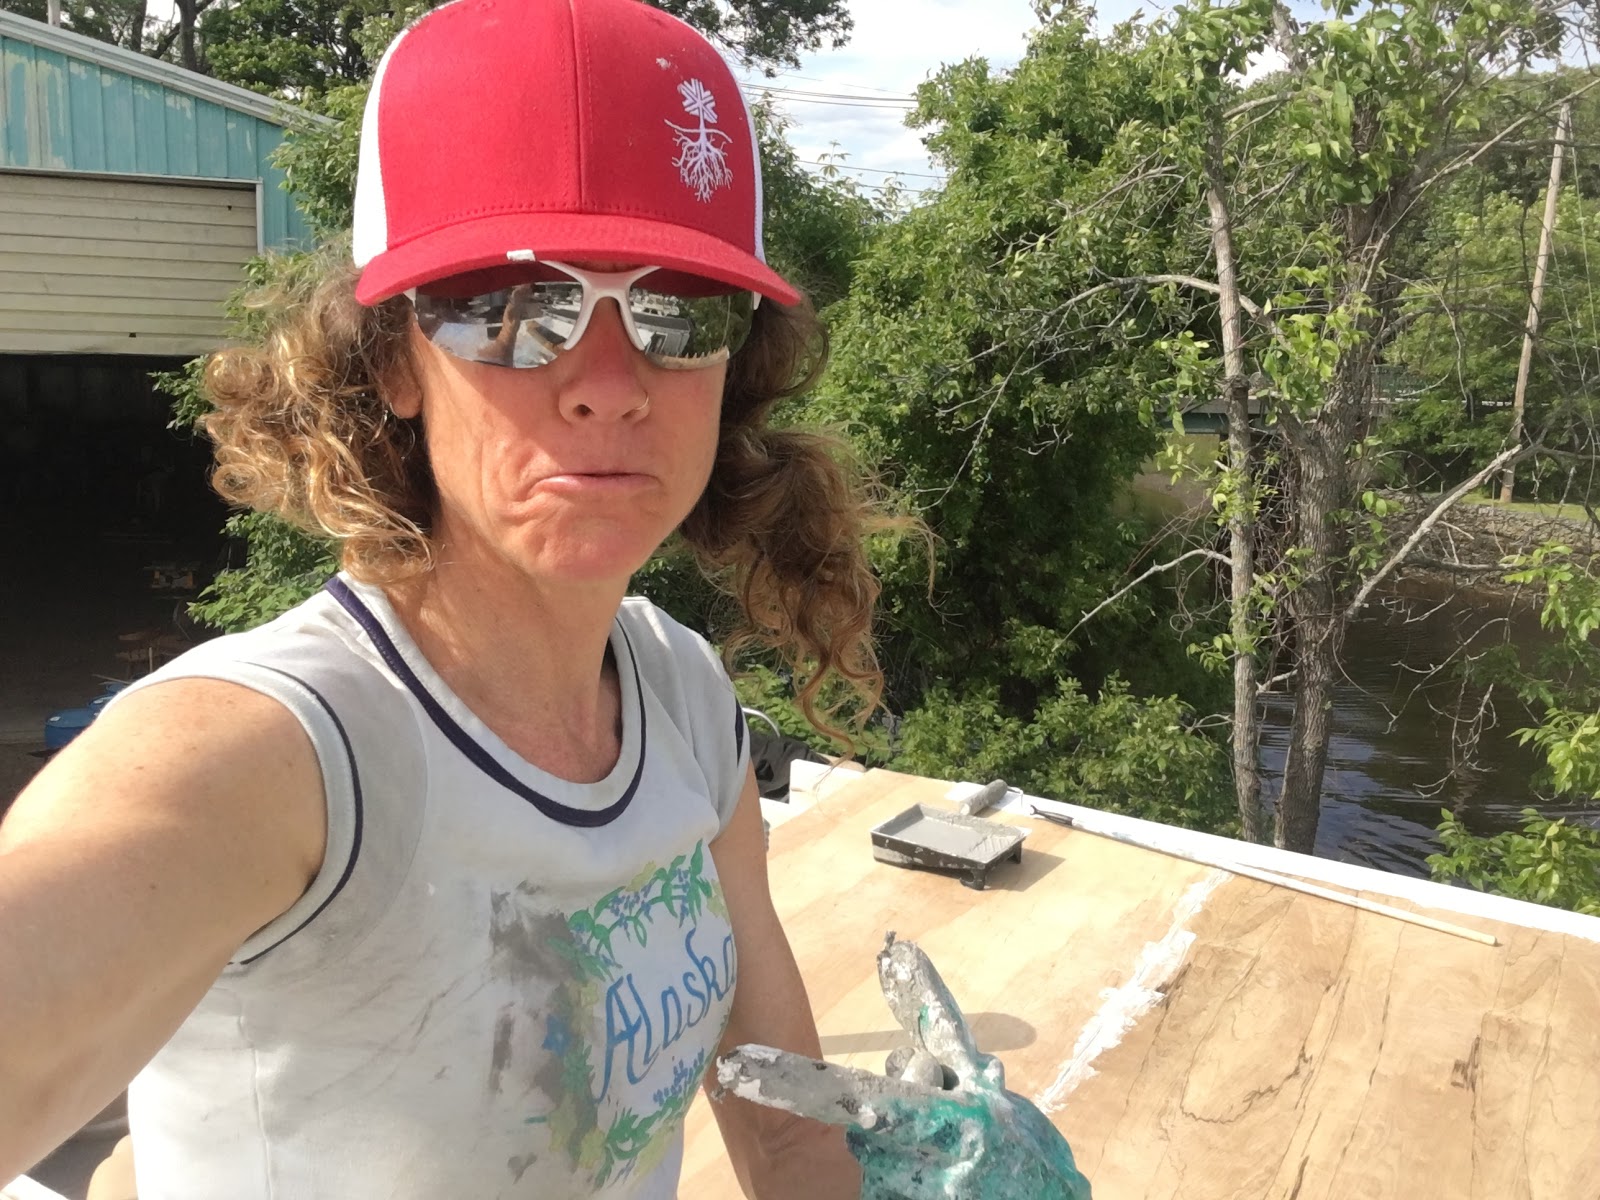
Damn! Got grey paint on grandma's shirt!
(Yes, she used to wear this bad-boy in the 60's
and now I'm wearing it! Soooo cool!

Got the drip edge and flashing done, now for main fabric

the build up of this stuff on my gloves
has dried and it's like...
another rubber glove! freaky.

x-hausted from busting my ass all day long I came up
with a sweet system to do the last two rows at the same time!

With mosquitos biting me, urging me to finish
(or maybe wanting me to stay?) I finally ended around 9:30pm
zzzzzzzz


The pictures kinda say it all....I'm just as tired now as I was executing all that stuff from today....I managed to accomplish my goal...only because I HAD A VISION!

Had I not believed in that vision I would have given up when voices echoed from below me saying it's getting late, you are losing sun....might as well stop.

I almost listened...I almost agreed, too late, I'm tired...no light...lots of mosquitos. But...nope, I needed to continue ...i HAD to continue. I fought myself a few minutes then just found myself getting more efficient and focused. That inner strength just kicked in right when I needed it most and got me through without even giving me a chance to back down....because of that vision I had and the STRONG DESIRE. (It all starts with vision and desire....and that is true for EVERYTHING in life!)

And now...body beat, sprit broken, i lowered myself off the roof in darkness, walked straight to the dock on the river...stripped down to the suit I wore underneath and didn't even hesistate to enter the cool night waters.

I hugged the ladder and felt the power of the cold water wash over me. I fucking did it! The whole roof was now officially waterproofed. I needed to give it a day to cure, which will be a much-needed break...and then I can add the subsequent layers.

Wow....sometimes, when these moments come along and we completely fucking amaze ourselves....we begin to realize the limits we place on ourselves and boundaries that can be pushed and know...we are capable of soooooo much more!
most tiring day in a while....so tired I ....yeah, I wanted to cry. (and maybe i did)
it was hot, my knees kept sticking to the paint, i finally but my pant legs back on,
but was almost too tired to even care.

Friday, June 8, 2018

water-(p)roofing day 1...


I have a daunting task ahead of me...
but I can see it done...TODAY and TOMORROW!


Today's goal was to get all the fabric prepped for the entire roof and get the first waterproof layer on the loft as well as get the main roof ready for waterproofing tomorrow.


cutting all the fabric and laying it out.

First trim out/flash the edges of the new drip-edge and the
boat hatch, then start the main layers

Once in the groove it went pretty smoothly!
 The idea with acrylic waterproofing is basically put one layer of paint down (which come to find out is very much like or maybe is an elastomeric paint) then a layer of fabric and then another layer of the grey paint. It's the same paint as the final white top coat, but the idea is when the grey starts to show you know it's time to add more acrylic.

It was suggested I order two 5 gallon containers of each but I'm starting to think it was WAY too much. We will see after tomorrow.

I trimmed out the edges and the boat hatch then started working with the larger fabric. I probably overlapped them more than necessary, but I had tons of material and figured it's better to overkill it rather than under protecting it...I've lived with the leaks now all spring and damn it I need them to never leak again!

I also decided to put the acrylic over the boat hatch to ensure no leaking around its base. Ian from Conservation Technologies recommended I do that too...and I feel positive about it. 


The end result of an all grey roof was great...All I could see was a big rubber glove wrapped around my roof that was going to be my protector in the storms ahead! A nice feeling of security I wanted for the main roof as well.

With that image in mind I set off to finish up installing the other boards. I went much faster now that I knew exactly what I was doing and had a good system in place. Trying to find a balance in my day and give myself an evening activity I had planned I also had a time limit! And I was determined to get the whole thing ready for painting before I had to call it off for the day. So, you can imagine my disappointment when the nail gun broke soon into the process. :-(

I ended up having to cut all the little plastic tabs off the nails so I could use the nails without having that shit embedded into the roof top....I screwed that up a couple of times on the upper deck that I didn't want to have mess up the lower roof since that would be the most walked upon. 

Due to the extra time taken to deal with all that, I did minimal securing of the boards so I could rush off to my activity for the evening. I had a big day coming tomorrow...time to start visualizing how the hell I was gonna get it all done!

glued down and nailed...manually, the
nail gun broke...had to do it old school!

Done securing it all. Tomorrow will be a BIG day!


Thursday, June 7, 2018

the boat...hatched!

Had to take advantage of the nice weather window and took today off to get the waterproofing before the next rain falls.

supplies waiting for me
getting some help from a 12 year old!
The first task was to get the roof ready with the 1/4" plywood (which I measured cut yesterday). (Oh and to set up my music with my awesome waterproof wireless solar
powered speakers! ;-) )
felt good to live my values with solar power!

Adding tar to stick the board to the paper from winter.


I swept and cleaned off all debri (ha ha that's going to me the name of my "boat" things I make are "de bri" lol!)
then, I used a tar as an adhesive to stick the board to the paper that was temporary over winter. Once the boards were all laid out (focusing only on the loft today) I was then able to nail them down with the nail gun. 

Once the panels were in place I would FINALLY be able to cut the hole for the boat hatch.

Honestly, I was really nervous at first about messing it up....knowing it wouldn't be easy to fix a mess up with a too large hole on the outside of the house!

But, I really felt it was time for me to do it myself instead of relying on the local marina carpenter. So, after a few minute consult with him and using his hands to hold the hatch in place so I could draw an outline...I was on my own!
Looking amazing with all the panels in place!

Drilled the holes from inside, then went up top to draw the box.
I got a 1/2" drill and drilled very conservatively inside my line then went up top to fill in the box so I had something to follow (and be in a better position than looking up with shit falling down in my face).

I was way less nervous when I realized I could just use the jigsaw...I LOVE using the jigsaw, it's so easy and dare I say artistic!? 


Cutting it out by myself was really no big deal...especially at this stage. I'm really quite unphased my most of the tasks ahead of me...it's just time and effort at this point, but execution-wise it's amazing how my confidence has skyrocketed! 

One of my friends asked me the other day how I'm doing it alone...if I had support at all or was I researching constantly. To be honest, I stopped looking everything up online a long time ago and just kept trusting myself and learning from experience. 

It's nice too to have the experience and a second chance at the roof ....like my second chance at life right now. I'm doing things and

first pass at cutting the opening...proud moment!
I'm more aware of what was "wrong" the first time around. Instead of just hurrying through things to get them done, I really am taking the time necessary to go over all the fine details, knowing in the long run....it will eliminate leaks! ;-)
After a few passes with the saw, fitting the window in between each pass, I finally got it seated in...tight as a proper fitting glove!
tightly fitting boat hatch! so stoked!

Too bad it can't stay looking like a beautiful wooden deck!
It's quite elegant looking like this!


I was a bit nervous about leaving it exposed like this all night, but the forecast was clear and I had to just trust it.

It was pretty amazing to see how much light that one hatch allowed to enter in. Much like opening our eyes or our heart or our minds....just a little opening can introduce a whole new perspective! 

I loved the process of finally unboxing my queen futon mattress that has been sitting around waiting for months! But, I was so glad I had it on hand waiting for me. I can't believe how different the whole home is starting to feel.

finally unrolled the queen futon and it's just as I dreamed!

Insurance at last!

I haven't given up. I just needed to walk away and take a break. So, I am walking 2,000+ miles from Georgia to Maine on the appalachian ...